Flash seedypod OS (recommended)
Back up the stock card first. This path installs both services; do not also follow the script-install guide.
The development image includes Raspberry Pi OS Lite (32-bit), hald, core, Node 22, the ARMv6 SQLite binary, Mosquitto, and the light and camera configuration. It runs on both the Pi Zero W and Zero 2 W.
In Raspberry Pi Imager, set App Options → Content Repository → Edit → Use custom URL to:
https://github.com/seedypod/core/releases/download/dev-latest/seedypod-os-imager.jsonApply and restart Imager, then choose your Pi:
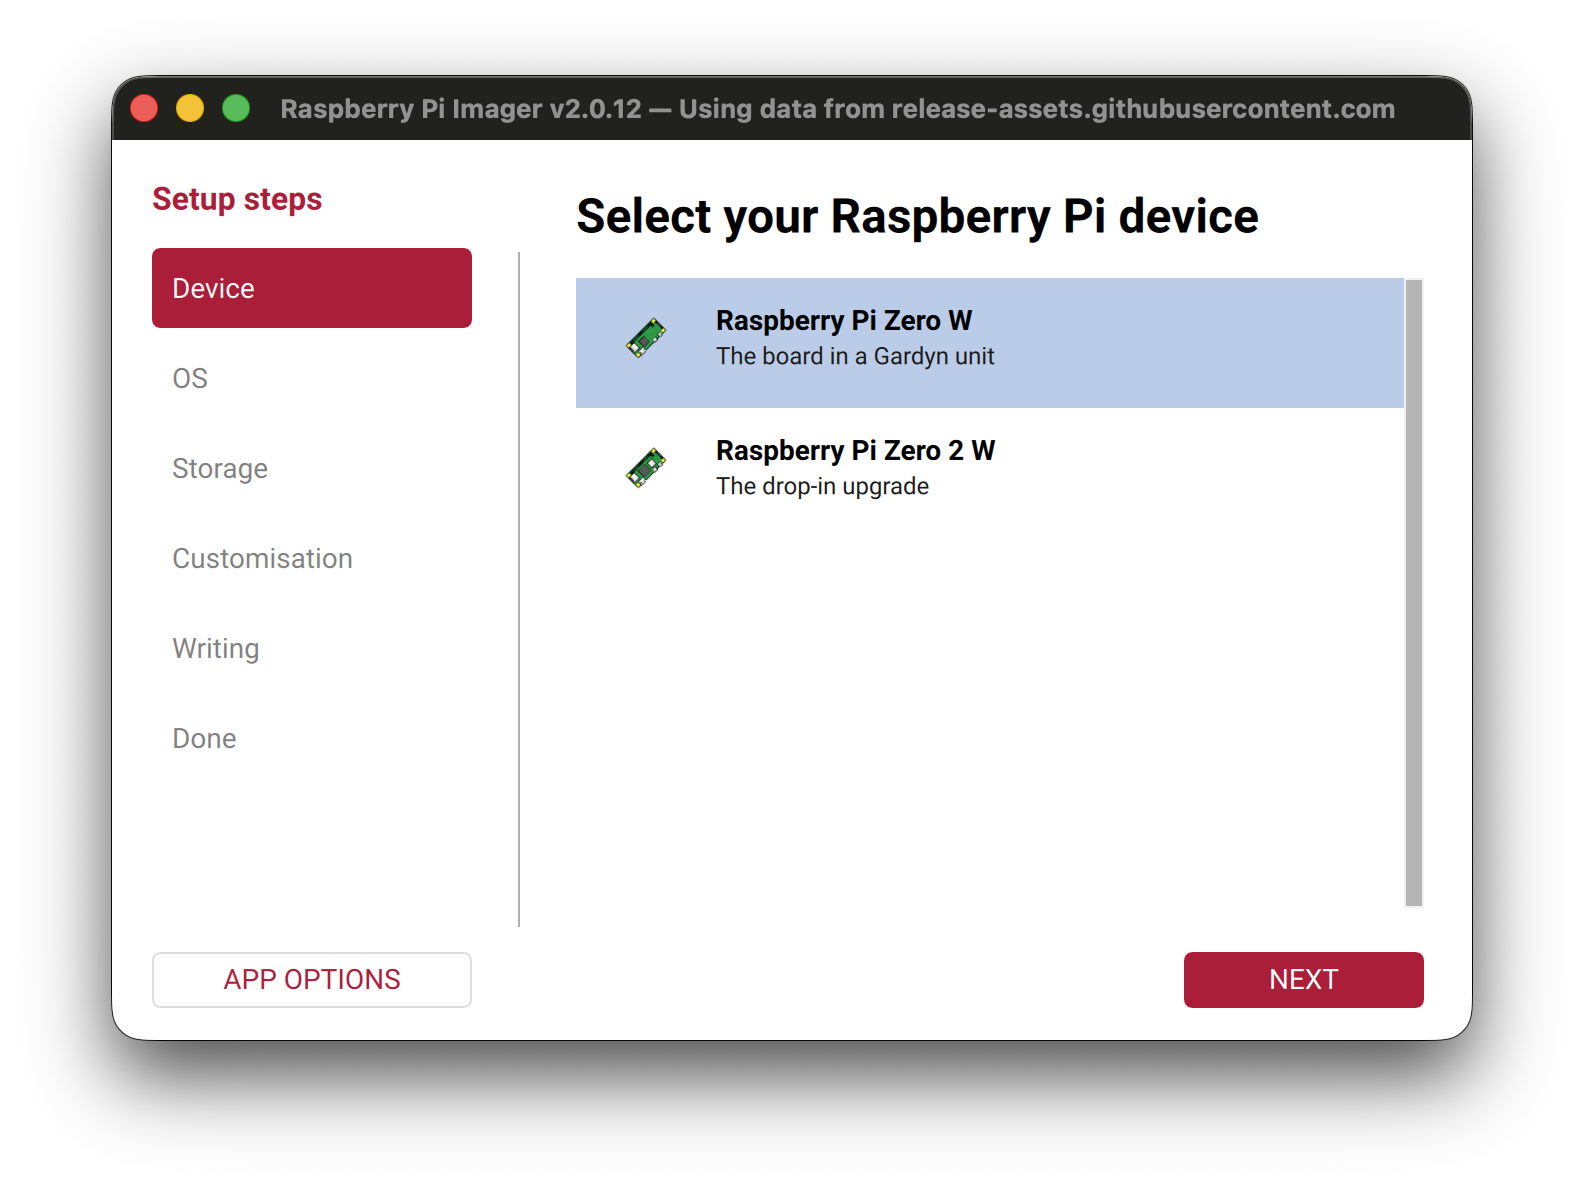
Choose seedypod OS:
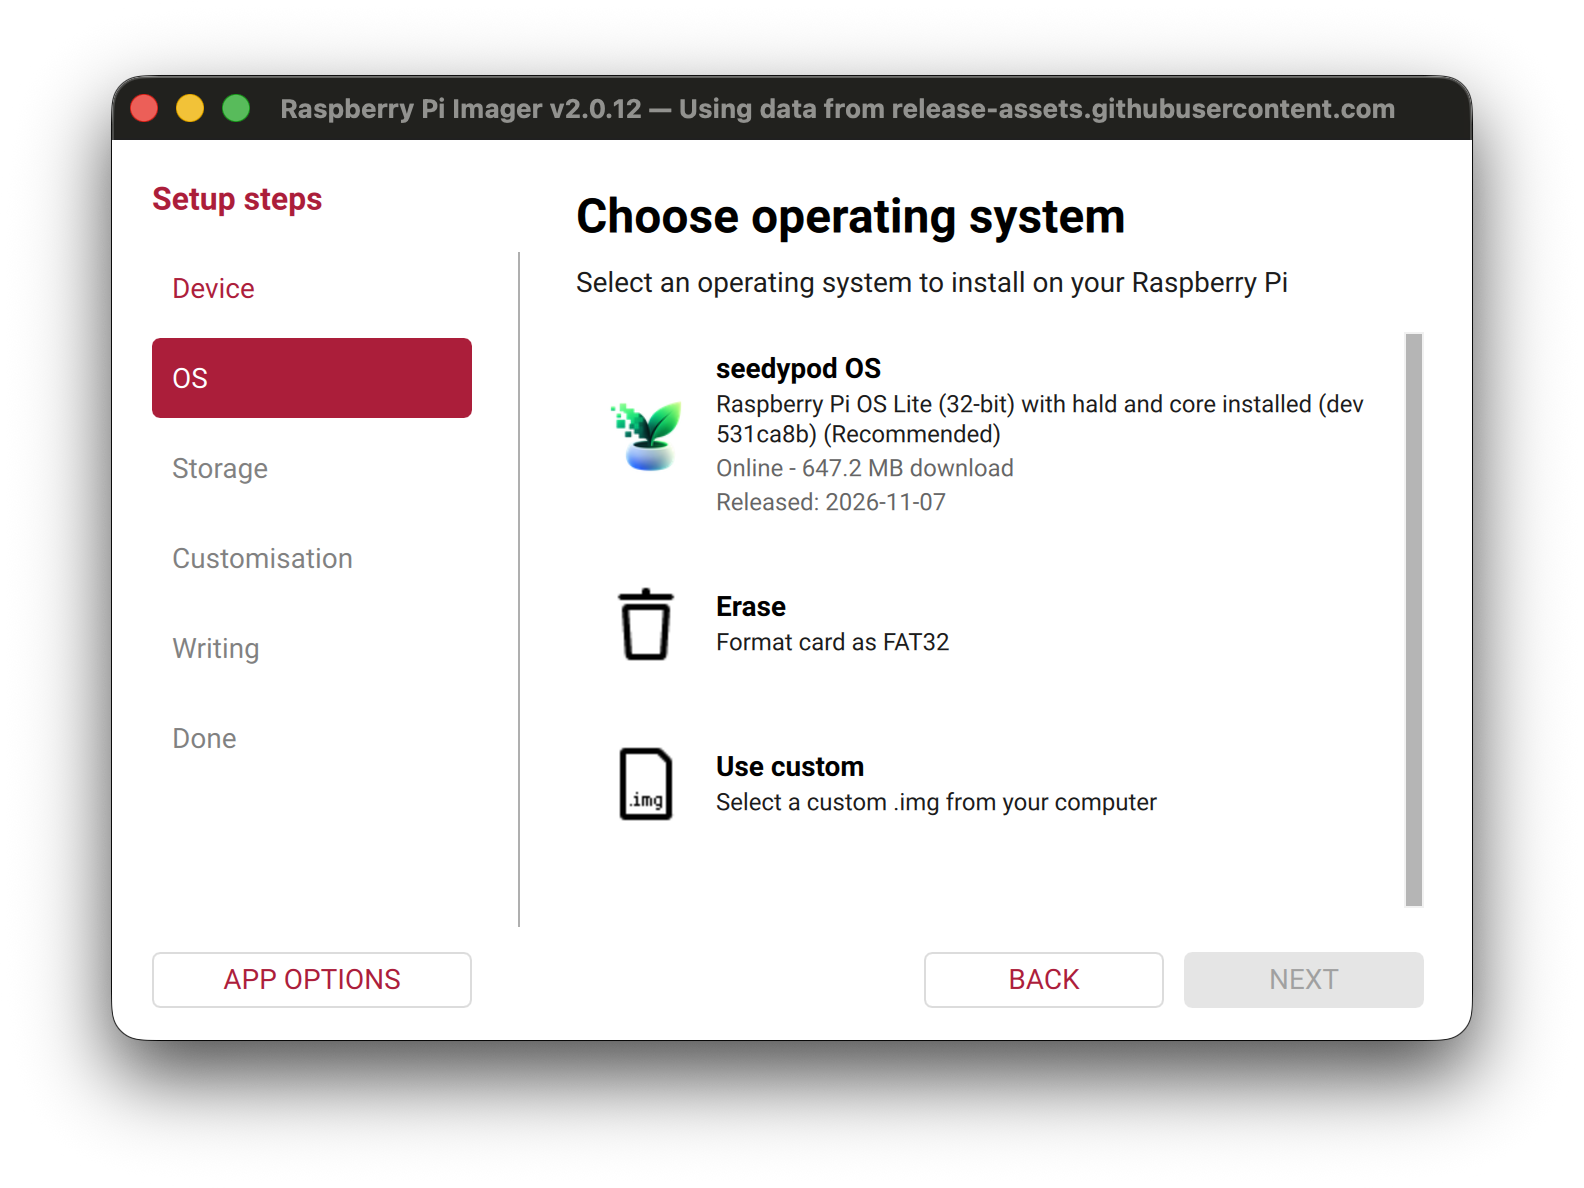
These screenshots show development build 531ca8b; the download size and revision change with each build.
Set a username, password, 2.4 GHz Wi-Fi and SSH in the customisation steps. Check the saved values before writing. Keep the password: sudo needs it. The hostname defaults to seedypod.
Write a high-endurance card of at least 4 GB, reseat it and power on. On the measured Zero W, core served pages after 4 minutes 31 seconds, and SSH opened after about 7.5 minutes. Open http://seedypod.local/. The image already includes both services. Continue to garden setup; you do not need the script-install path.
The first hardware bring-up used the development image. The released main installer still lacks the Zero W ARMv6 fixes; use the development image or the development script commands until the next release.
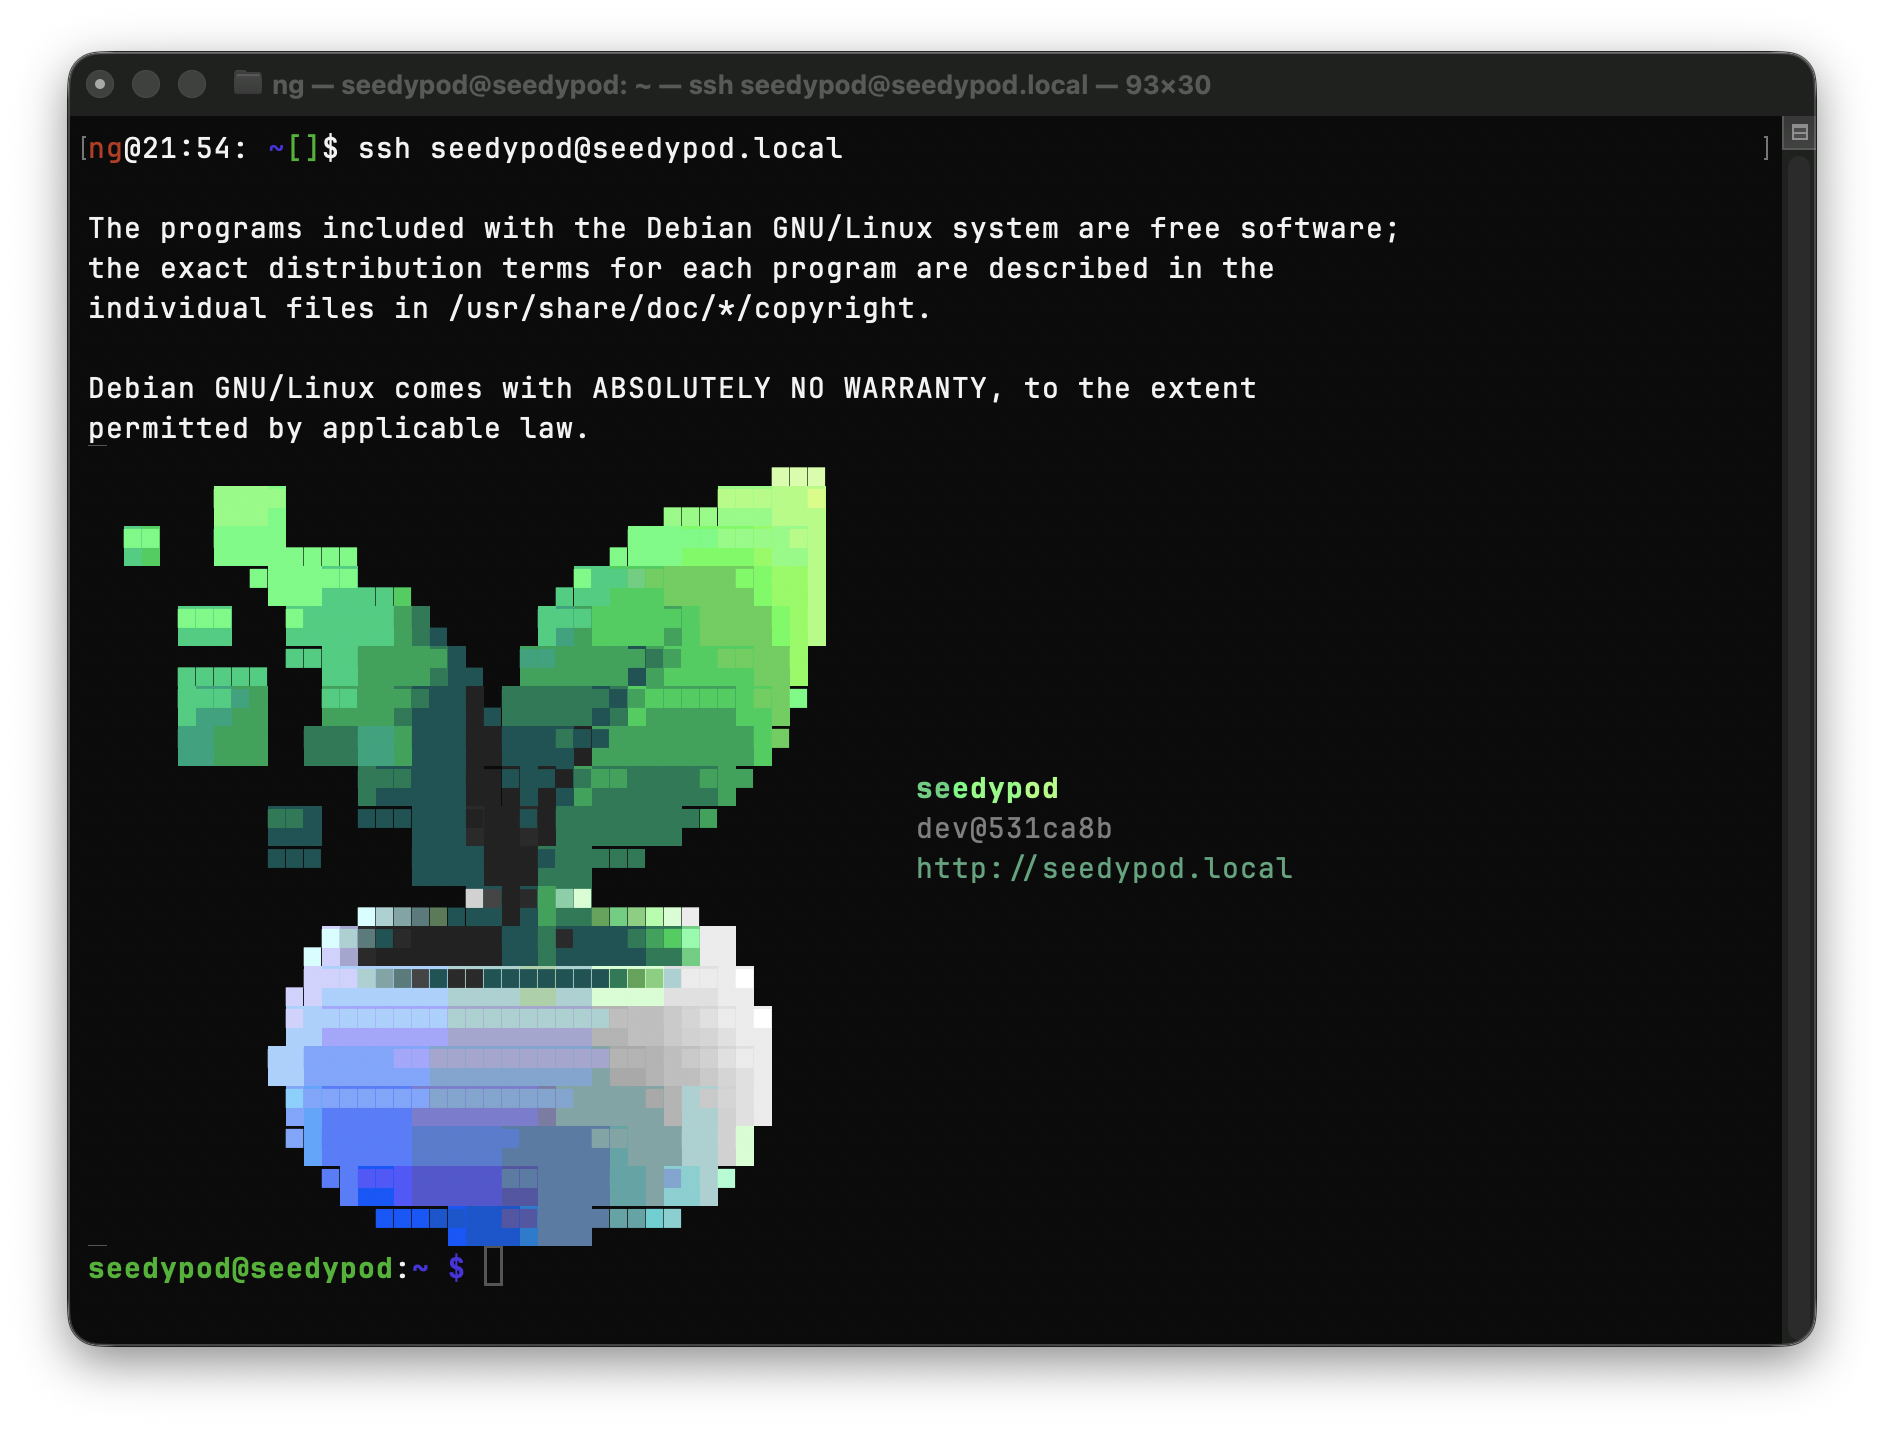
If you enabled SSH, connect with the username you chose in Imager. There is no default login; the example below uses seedypod. The login banner shows the installed revision and local web address.
Source: docs/INSTALLATION.md · docs/MAINTENANCE.md · scripts/install · scripts/install-hal · scripts/seedypod-restore.cjs